
No Scale Required!
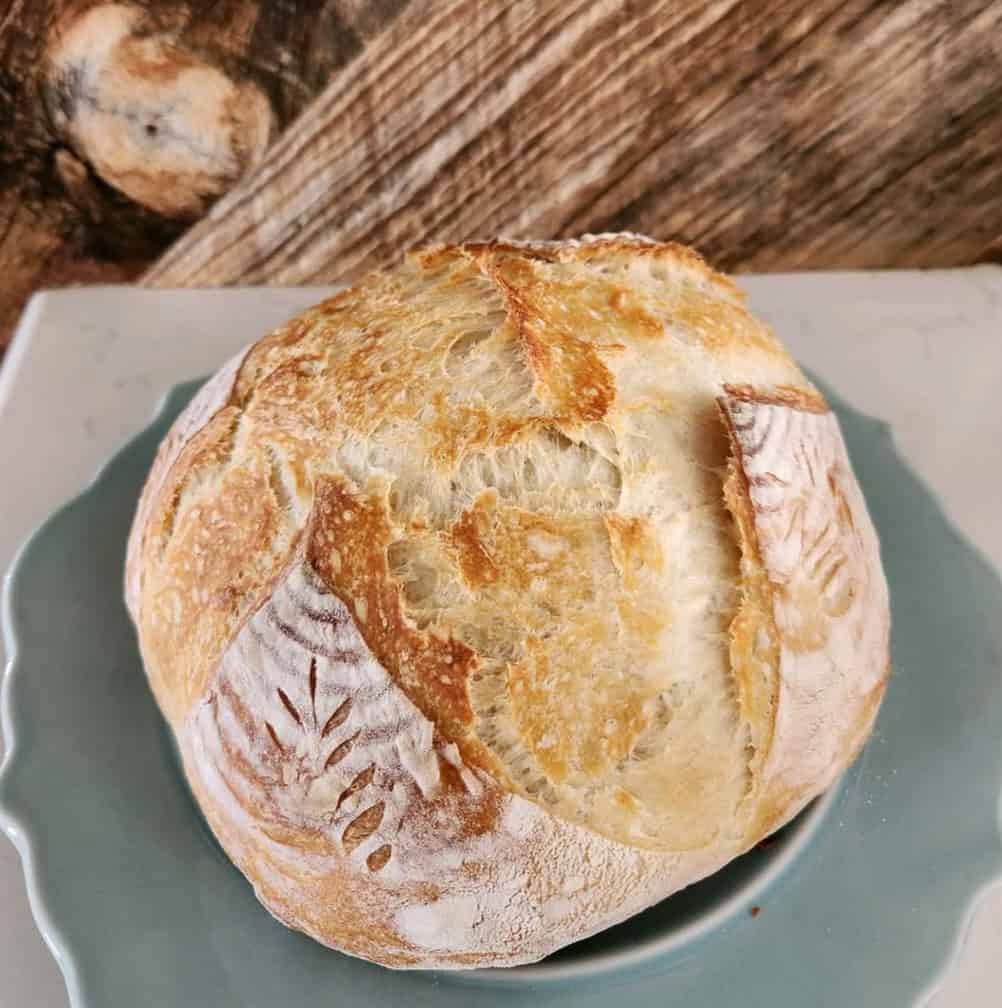
Easy Artisan Sourdough Bread – No Scale Required!
When I first started my sourdough journey, I felt overwhelmed by all the scales, precise measurements, and technical talk. Then I found a class that taught this Easy Artisan Sourdough Bread and method, and it changed everything. This simple, beginner-friendly recipe is where I learned sourdough—and I was successful my very first bake!
This recipe makes two beautiful artisan loaves using just measuring cups. The only time you’ll need a kitchen scale is to feed your starter. It’s proof (pun intended) that sourdough doesn’t have to be complicated to be delicious.
What You’re Looking For
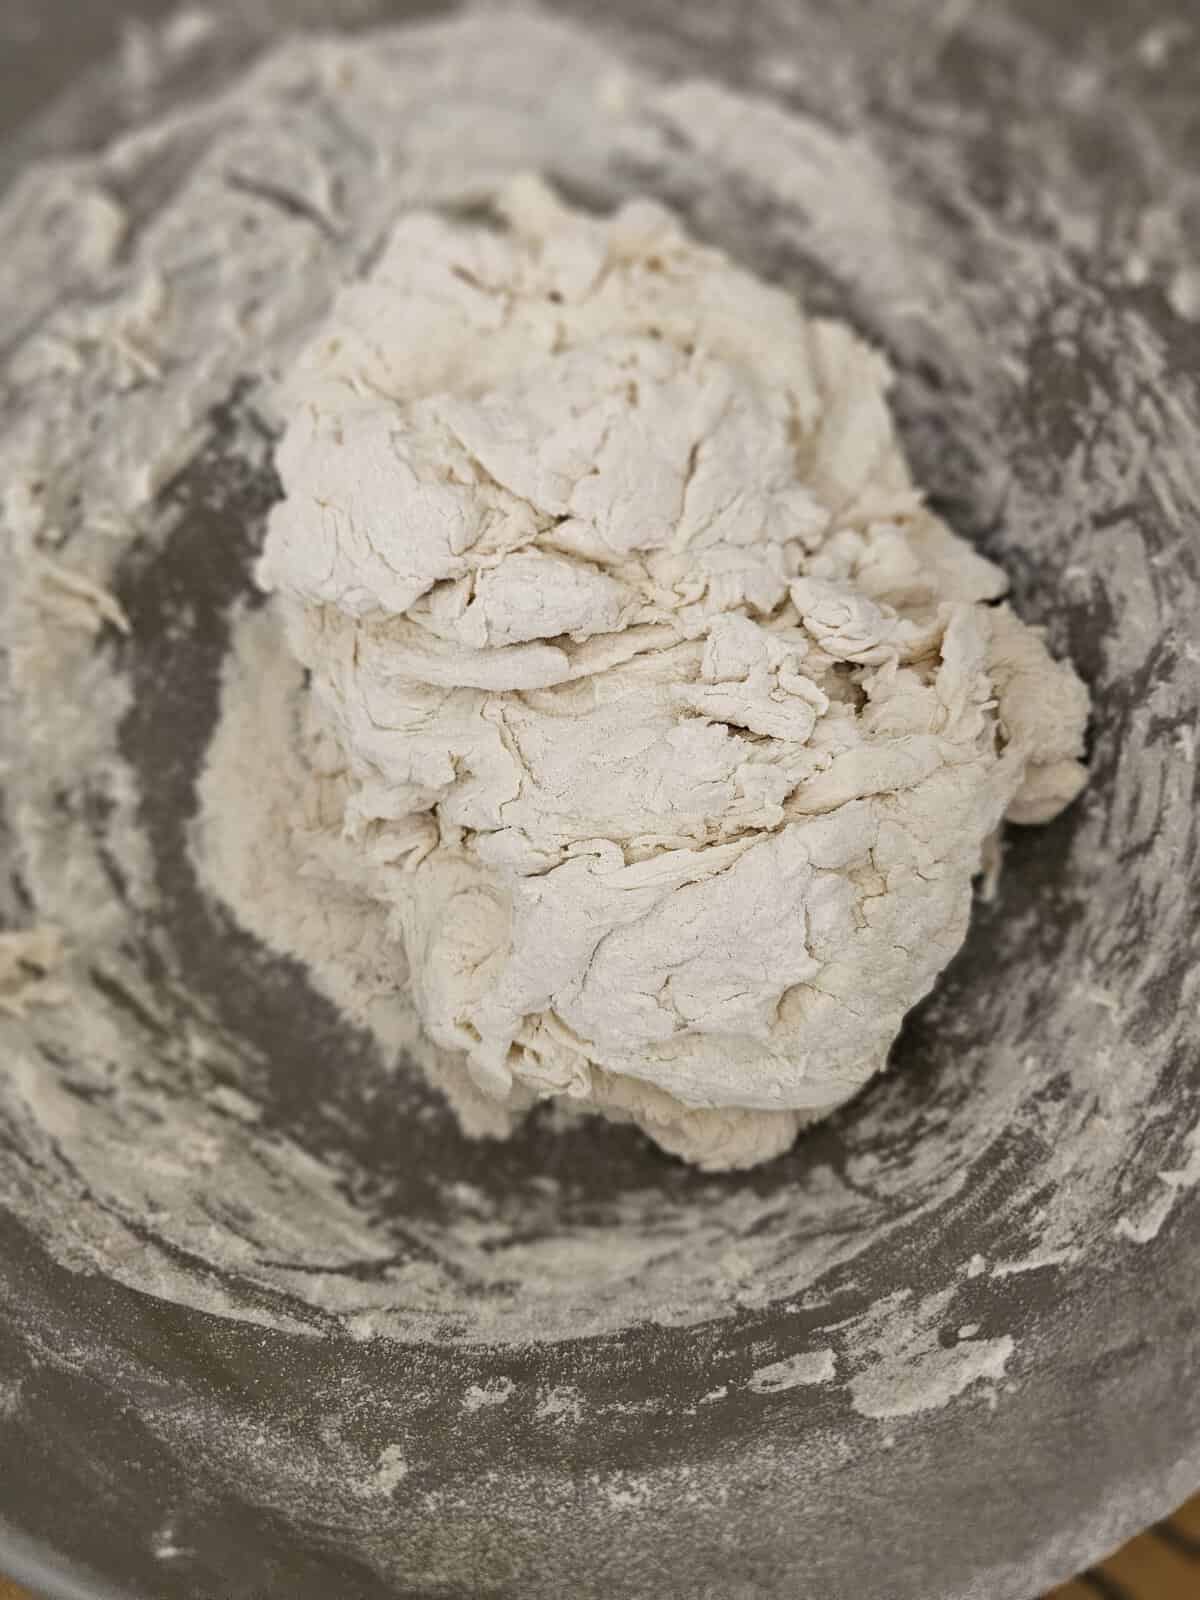
The key to this recipe is getting your dough to a shaggy consistency, as shown in the picture below. Don’t panic if it seems messy—shaggy dough means you’re on the right track!
My Simple Criss-Cross Score
When it comes to scoring, I keep things simple with a classic criss-cross pattern. Here’s how I do it:
1. Place your dough on parchment paper.
2. Using a sharp lame or razor blade, make one clean slash across the top of the dough, about 1/4 inch deep.3. Make a second slash perpendicular to the first, forming a cross or “X.”
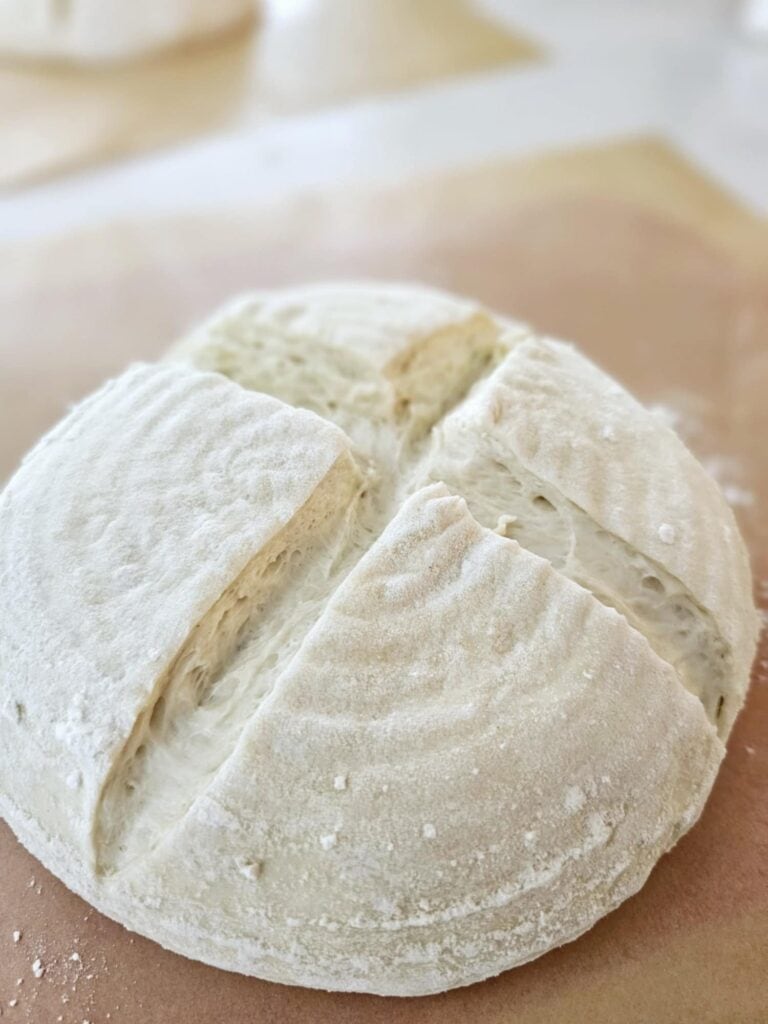
This method allows the dough to expand beautifully in the oven and gives a timeless, rustic look.
There are a million ways to score sourdough, from intricate designs to bold patterns. If you’re interested in experimenting, I suggest searching YouTube or social media for tutorials and inspiration. You’ll find endless possibilities!
Why I Love This Recipe
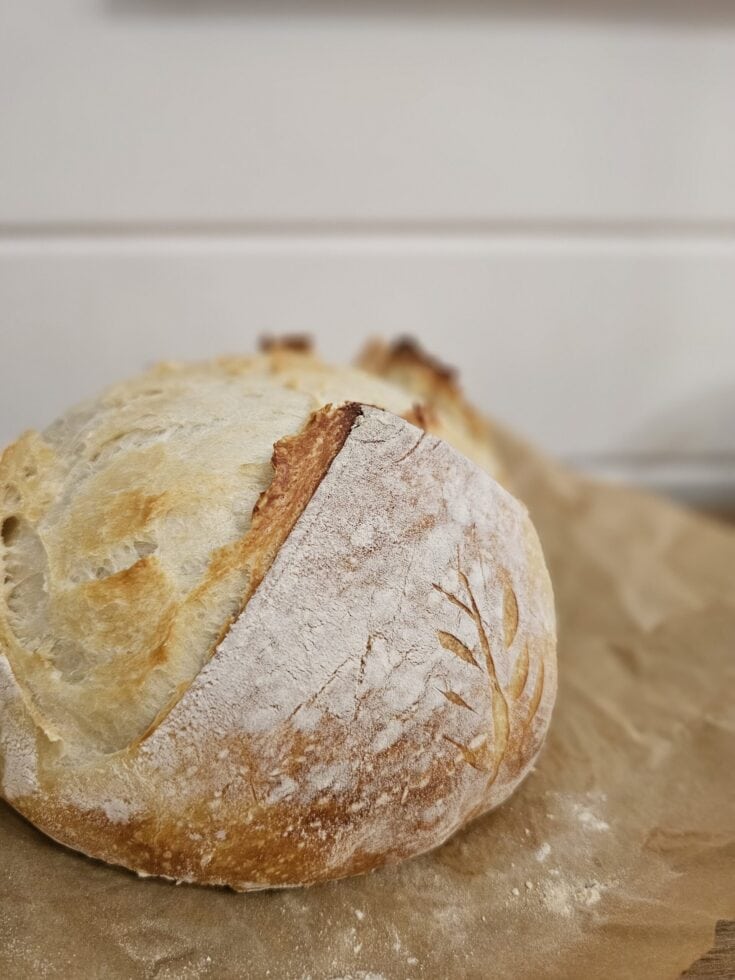
Not only does it simplify the process for beginners, but it also produces bakery-quality results: a golden crust, soft and airy crumb, and that tangy sourdough flavor we all love. Plus, it makes two loaves—perfect for sharing (or hoarding, no judgment here).
Video Tutorial Coming Soon!
I’ll be sharing a step-by-step video tutorial soon, so you can follow along and feel confident tackling your first (or fiftieth) sourdough bake.
This recipe taught me that sourdough can be simple, approachable, and wildly rewarding. I can’t wait for you to try it—happy baking!
Easy Traditional Sourdough Recipe
Materials Needed:
10-inch mixing bowl
Scoring tool
Danish Dough Wisk Or Wooden Spurtle
Parchment paper
2 round bannetons
Tea Towel
Enamel Dutch Oven
Ingredients
- 2 Cups of lukewarm to cool water
- 4 - 6 Cups of All Purpose Unbleached Flour ( Or flour of your choice)
- 2 tsp Mineral Salt ( Redmond Real Salt, Hawaiian Salt, Pink Himalayan)
Instructions
- In a 10 mixing bowl add 2 cups of water
- Add the 1 cup of bubbly active sourdough starter just after peak.
- Using your Danish dough whisk or wooden spurtle stir until incorporated into the water.
- Add 4 cups of flour and mix.
- Slowly add more flour a half a cup at a time until your reach a shaggy consistency (pictured above)
- Cover with a damp tea towel or plastic wrap for 30 minutes.
- After the 30 minute rest, stretch and fold every 30 minutes for 2 hours. Using water to dip your fingers in will help the dough from sticking to your fingers.
- Cover the bowl with a warm cloth or plastic wrap for 12 hours in the warmest part of your kitchen.
- After the 12-hour rise/ bulk ferment, you're going to lightly flour your counter and dump the dough out.
- Take one end and fold it halfway and then the other end and fold it all the way to the end. It should be in a rectangle type shape.
- fold it again twice to resemble a russet potato/burrito shape.
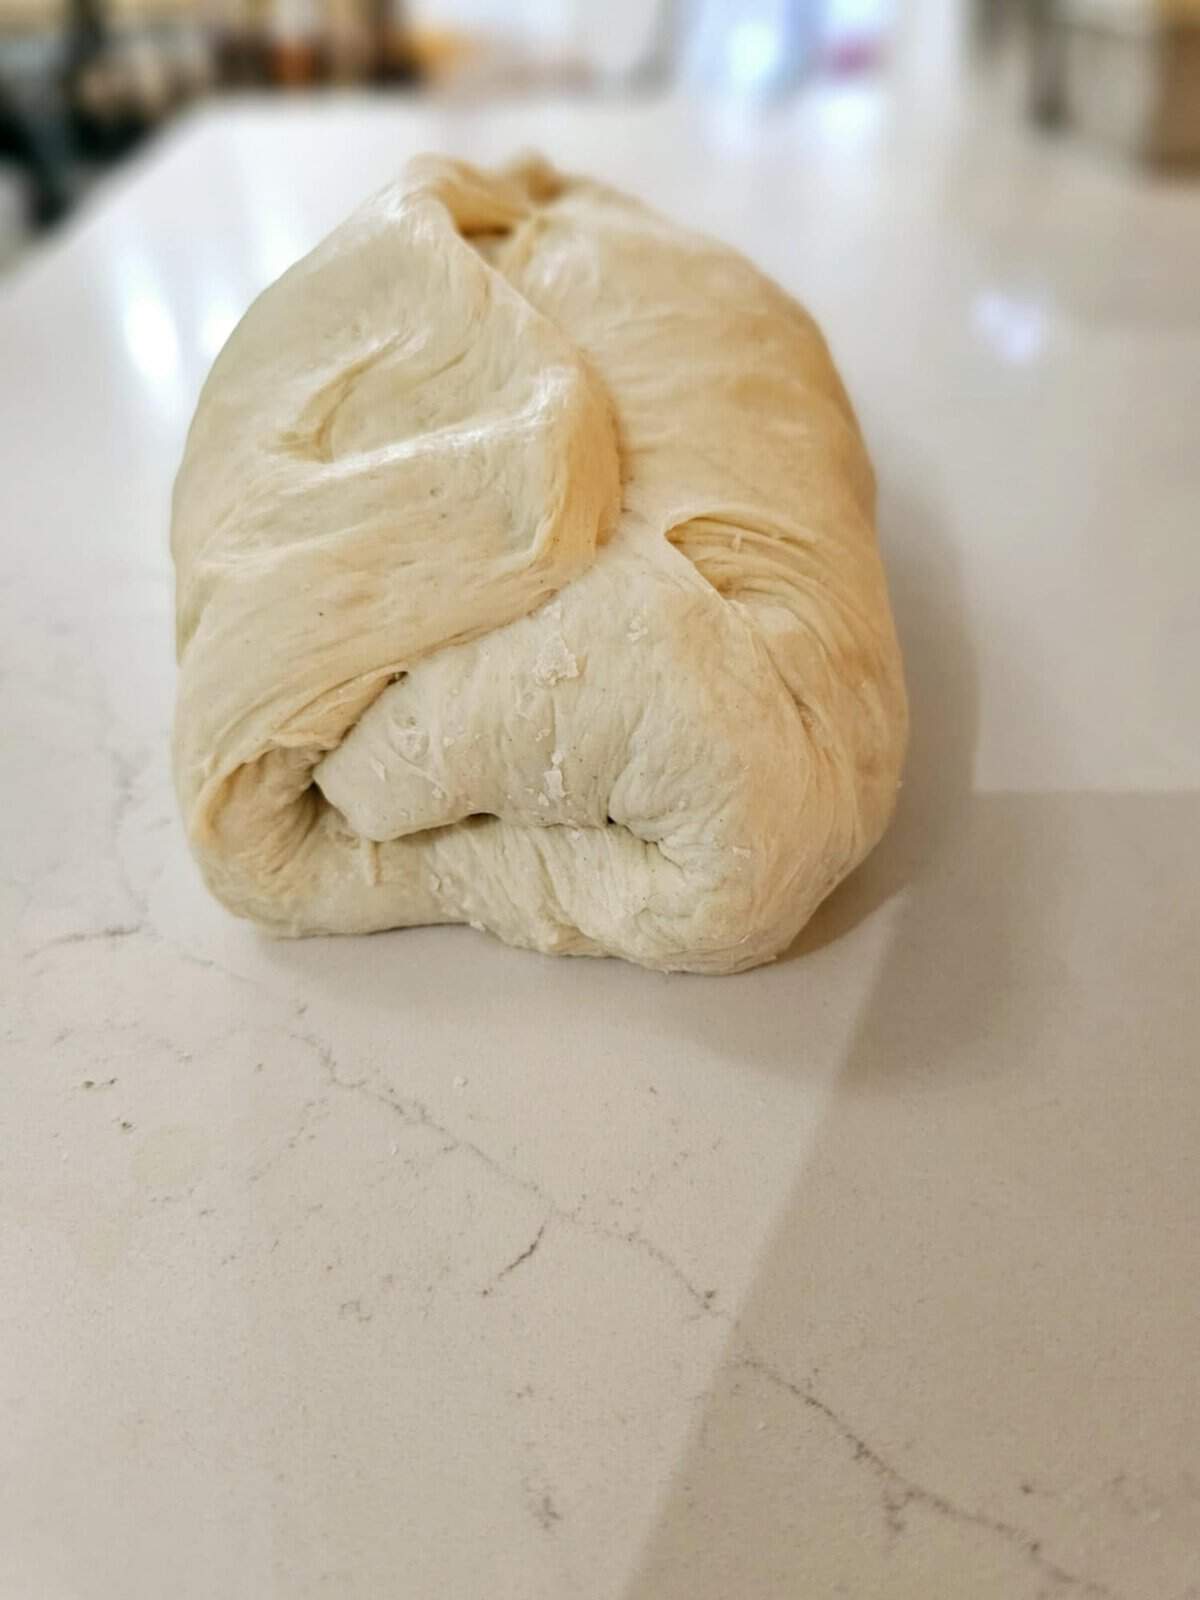
- Cut in half using a bench scraper or really sharp knife.
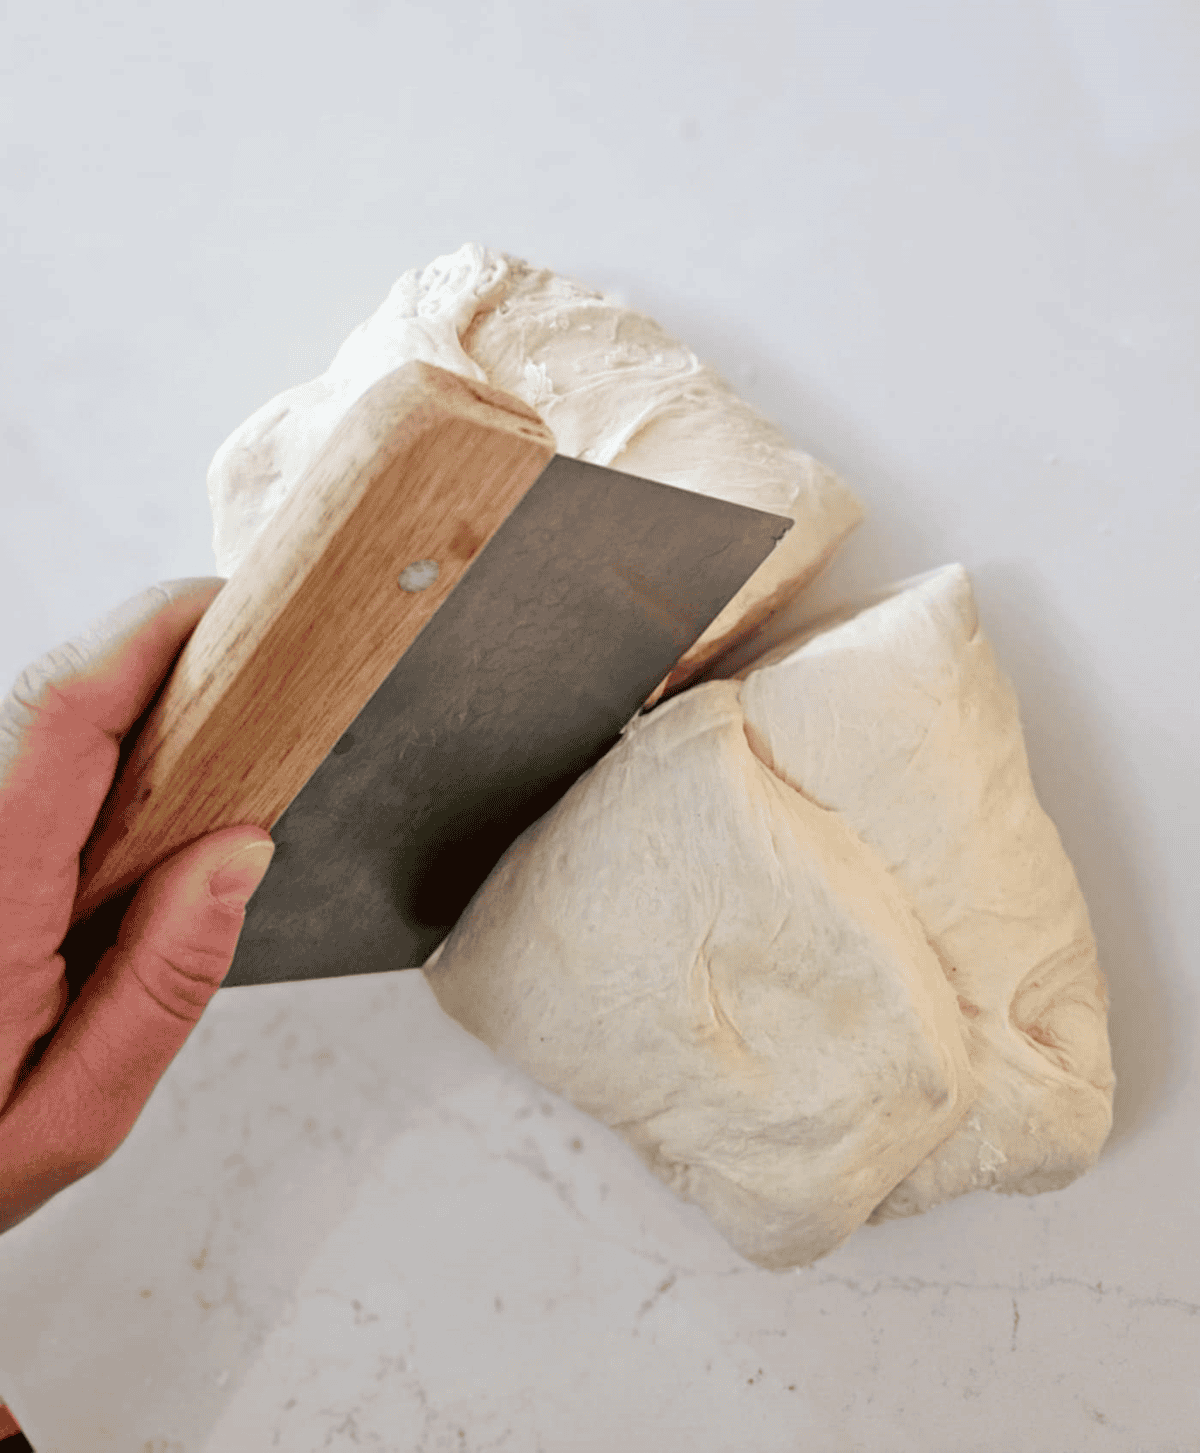
- Preheat oven to 450 with your Dutch oven inside.
- Take one half and fold it twice and flip it over. This is where you start tucking and pulling it towards you to start making a tight ball. Keep tucking and pulling towards you to make the ball as tight as you can without the top ripping.
- Once you're done tucking/shaping, flip it over into your banneton bowl. (Your banneton should be floured enough that the crevices are floured, but there isn't excess flour floating around the bowl)
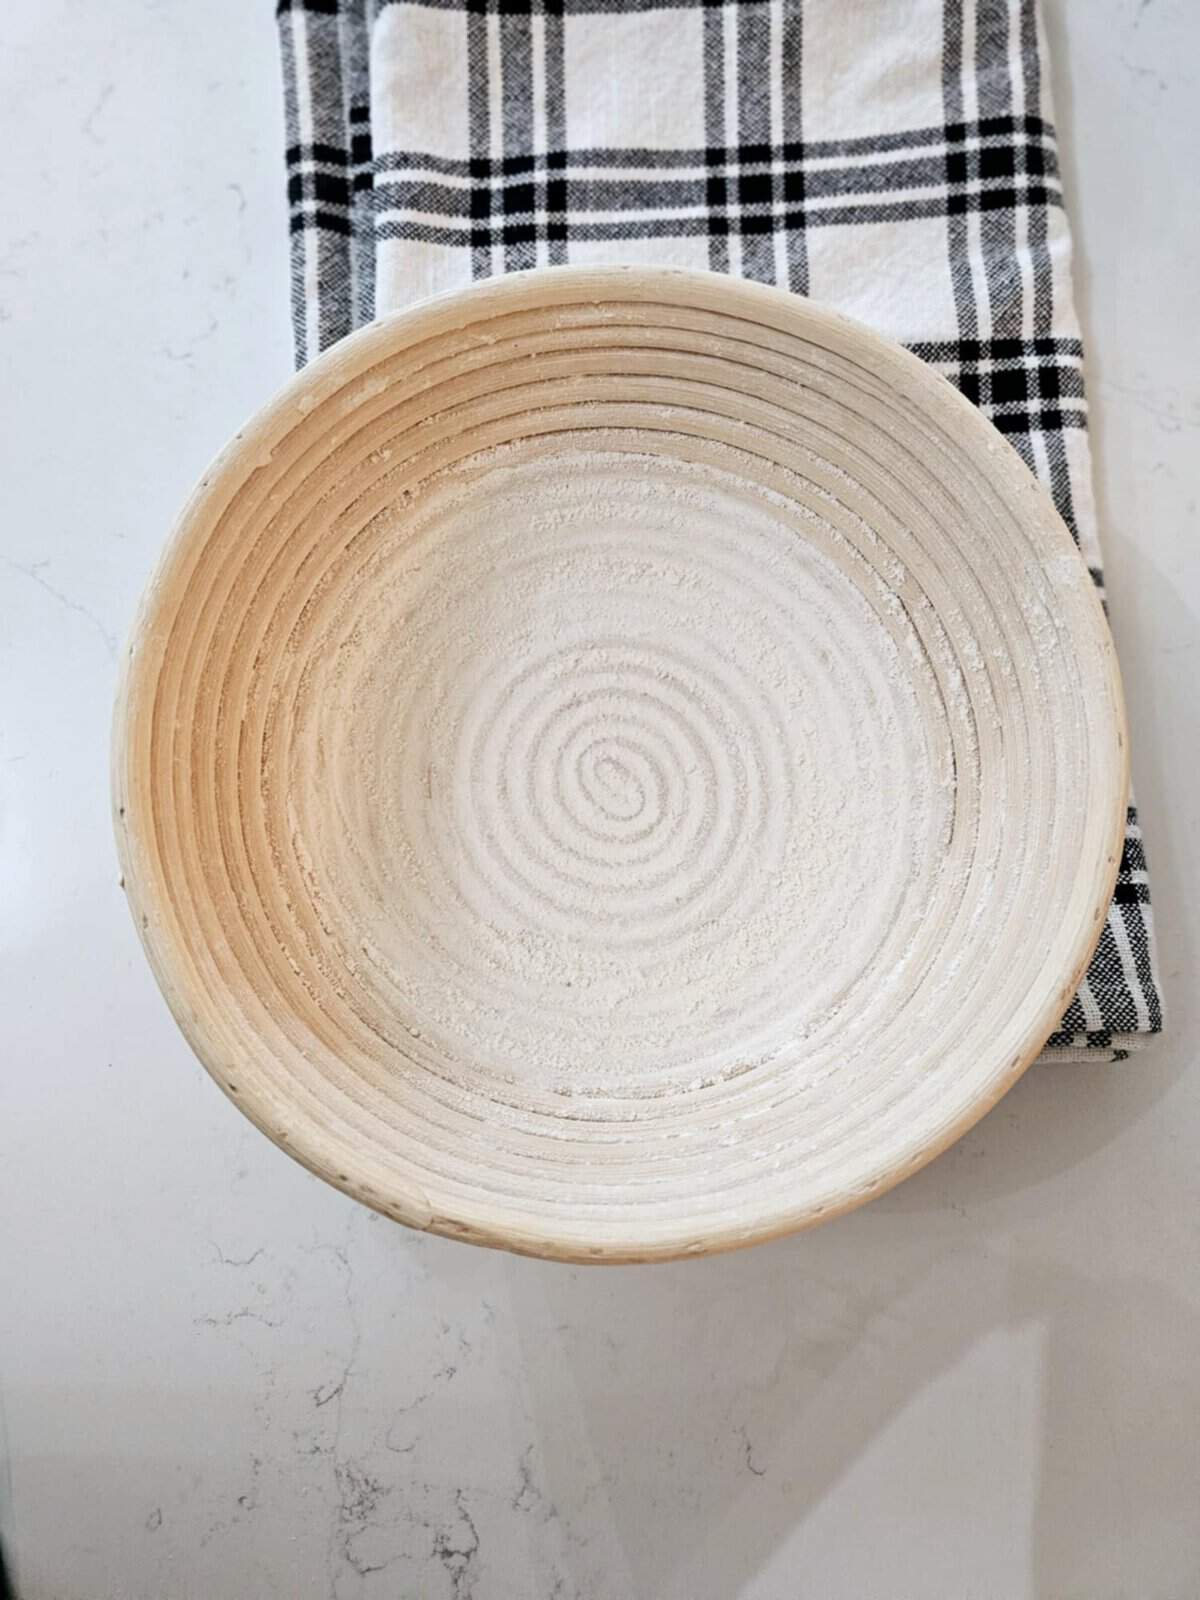
- Cover your bannetons with a warm damp tea towel or plastic wrap for 30 minutes.
- Repeat steps above for 2nd half of dough.
- After the 30-minute rise, get dough onto your parchment paper with the help of a cutting board, lightly flour dough, and score it using your lame/scoring tool.
- Transfer to your pre-heated Dutch and bake for 30 minutes, then remove the lid and bake for another 5-15 minutes until the top is a golden to dark brown.
Notes
Your baking the dough on your parchment paper. The parchment paper helps get your dough out of the Dutch oven without getting burned.
Recommended Products
As an Amazon Associate and member of other affiliate programs, I earn from qualifying purchases.
-
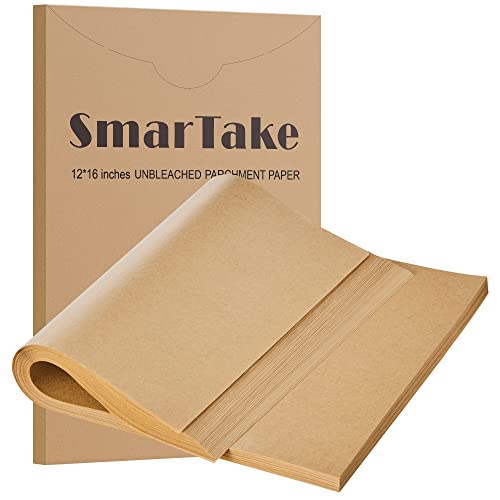 SMARTAKE 200 Pcs Parchment Paper Baking Sheets, 12x16 Inches Non-Stick Precut Baking Parchment, for Baking Grilling Air Fryer Steaming Bread Cup Cake Cookie and More (Unbleached)
 -
 Redmond Real Salt - Ancient Fine Sea Salt, Unrefined Mineral Salt, 16 Ounce Pouch (1 Pack)
 -
 Enameled Cast Iron Dutch Oven Pot (5 colors available)
 -
 Sourdough Starter Ki
Leave a Reply