
(And Why You Should Try It!)
Why Ferment Chicken Feed?
Fermenting chicken feed isn’t just about saving money (though that’s a big perk!). It also improves the nutrition, digestion, and overall health of your flock.
Here’s what we’ve noticed since switching:
- Saves money – We used to buy two bags of feed every week, now it’s every two weeks!
- Increases nutrient absorption – Fermenting breaks down the feed, making vitamins and minerals easier for chickens to absorb.
- Reduces waste – The soaked feed is softer and easier to eat, so there’s less feed scattered on the ground.
- Boosts gut health – The natural fermentation process promotes good bacteria for a healthier digestive system.
- Keeps chickens full longer – Fermented feed is more filling, so they eat less while still getting plenty of nutrition.
What You’ll Need
Feed – We mix pellets and whole corn in a storage bin with a lid.
Water – Needs to be dechlorinated for better fermentation (more on this below!).
5 buckets – One for each step of the process.
A strainer – To separate the fermented feed from the water before serving.
How to Ferment Chicken Feed (Our 5-Bucket System)
We’ve streamlined our process using a 5-bucket system to keep everything fresh and easy to manage.
Here’s how it works:
Step 1: Prep Your Water (Bucket #5) Before starting fermentation, we fill one bucket with water and let it sit for 24 hours. This removes chlorine and chemicals that can slow down the fermentation process. Step
2: Start Fermenting (Bucket #1) Measure your feed – We use ½ cup per chicken. Our flock has 27 chickens, so we ferment 13.5 cups daily. Add the dechlorinated water – Pour enough to cover the feed completely.
Let it sit overnight to start the process.
Step 3: Daily Transfers (Buckets #2-4)
Each day, move the fermenting feed to the next bucket in line.
This:
- Keeps the mix fresh and from going stagnant.
- Prevents mold or spoilage.
- Ensures fermentation happens properly.
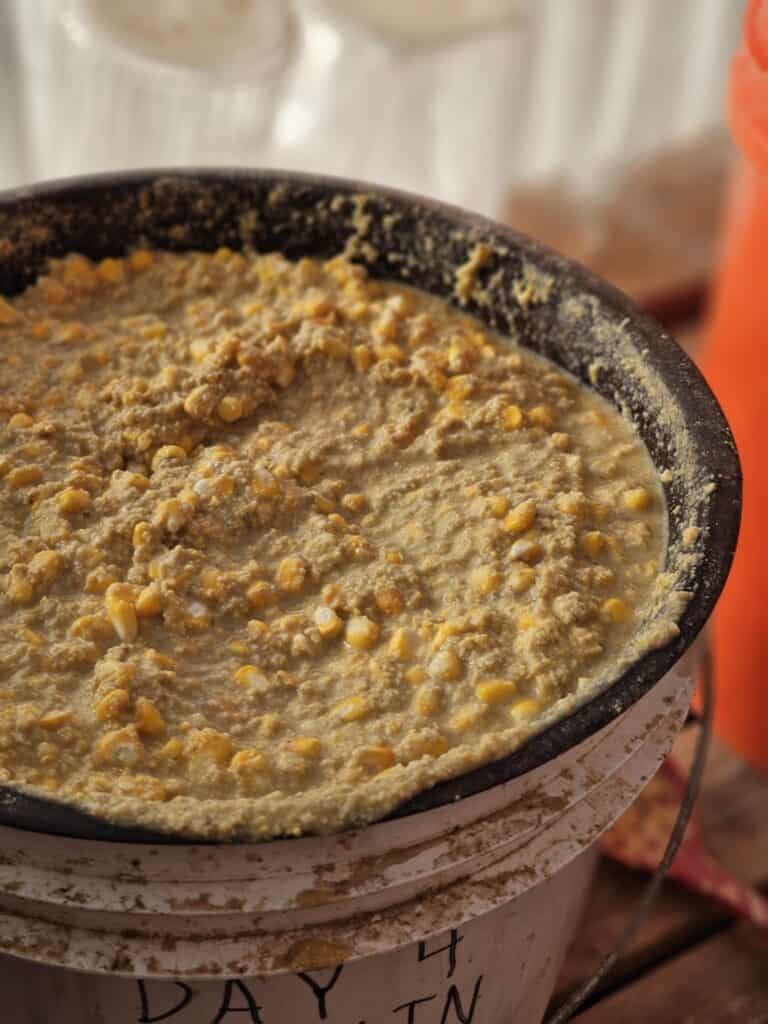
- By day four, your feed will be fully fermented and ready to serve.
Step 4: Strain & Feed
On day 4, strain out the liquid (but don’t toss it!). Use that same liquid to start the next batch—it speeds up the fermentation process by introducing beneficial bacteria. After four days, the system runs on a continuous cycle, so you always have fermented feed ready to go!
What to Expect When Fermenting Feed
The smell – Some people think fermented feed stinks. We don’t mind it, but the kids sure do! If you’re sensitive to smells, this might take some getting used to.
Messy but worth it – It can get a little sloppy. Having a good strainer and an easy cleanup system helps a lot.
Cold weather challenges – Keep your buckets somewhere they won’t freeze, or the fermentation process will slow down (or stop completely).
Final Thoughts: Is Fermenting Feed Worth It?
For us, absolutely! It’s saved us money, cut down on waste, and given our chickens a healthier diet. The process might seem a little messy at first, but once you get into a rhythm, it’s super easy to maintain. If you’ve been thinking about trying it, give it a shot! Your chickens (and your wallet) will thank you.
Have you tried fermenting feed? Let me know in the comments!
Hiya, I’m really glad I’ve found this information. Nowadays bloggers publish only about gossips and net and this is really irritating. A good blog with interesting content, this is what I need. Thank you for keeping this web site, I will be visiting it. Do you do newsletters? Cant find it.
I’m confused on the math in How It Works – step 2. If you use 1/2 per chicken and have 27 chickens, wouldn’t it be 13.5cups of feed? Not 6 cups? I am just trying to figure how much I need, so I apologize if I missed something
Oh my goodness. I did put the wrong math here in this post. You are correct 13.5 cups. Thank you for pointing that out! I will update that.